
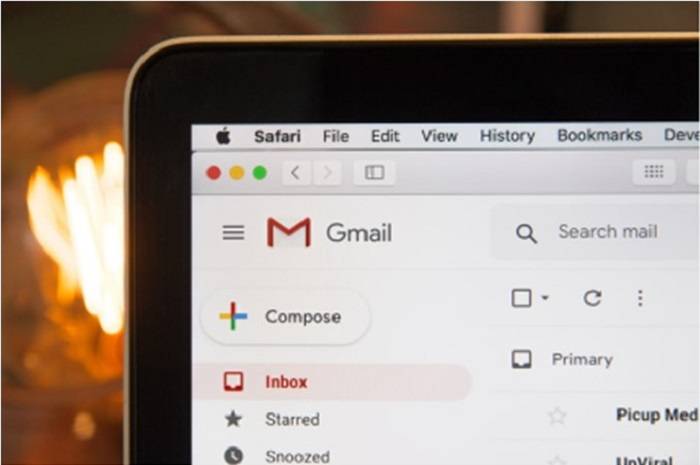
With the growing number of cyber threats, securing your Gmail account is more critical than ever. One of the most effective ways to protect your account is by enabling two-factor authentication (2FA). This added layer of security ensures that even if someone gains access to your password, they won’t be able to log in without a second verification step. Here’s a guide to setting up 2FA on your Gmail account.

Steps to Enable Two-Factor Authentication for Your Gmail Account
Follow these steps to enable two-factor authentication and secure your Gmail account effectively.
1. Log In to Your Google Account
The first step to securing your Gmail account is logging into your Google account settings. Open Gmail in your browser and click your profile icon in the top-right corner. From the dropdown menu, select Manage Your Google Account to access your account settings. Navigate to the Security tab on the left-hand menu.
2. Access the Two-Factor Authentication Settings
Once you’re in the Security tab, scroll down to the Signing into Google section. Here, you’ll find the option for 2-Step Verification. Click on it, and Google will guide you through the setup process. You’ll need to verify your identity by entering your current password, ensuring that only you can enable this security feature.
3. Choose Your Verification Method
Google provides multiple options for the second verification step, allowing you to choose what works best for you:
- Google Prompt: This is a simple and fast method where you receive a notification on your linked smartphone to approve the login.
- Authentication App: Apps like Google Authenticator generate unique time-sensitive codes that you need to enter during the login process.
- Backup Codes: Pre-generated codes that can be printed or saved for use when you don’t have access to your devices.
Select the method that suits your lifestyle and follow Google’s prompts to set it up. Each option offers a secure way to ensure only authorized users can access your account.
4. Verify Your Phone Number
Adding your phone number to your Gmail account is a critical step in the 2FA setup process. Google will send a one-time verification code to your phone, which you’ll need to enter to confirm ownership. This phone number serves as a fallback method to recover your account in case you lose access to your primary 2FA method.
5. Enable Backup Options
Google allows you to set up multiple backup methods to ensure you’re never locked out of your account. You can add additional phone numbers, enable backup codes, or use a physical security key. Having these backups in place guarantees access to your account even in unexpected situations.
6. Test Your 2FA Setup
After completing the setup process, it’s crucial to test your 2FA to ensure everything is working as intended. Log out of your Gmail account and attempt to log back in. You’ll be prompted to complete the second verification step, confirming that your account is now protected by 2FA and ready to withstand unauthorized access attempts.
7. Keep Your Account Secure Across Devices
If you access Gmail on multiple devices, such as smartphones, tablets, or laptops, ensure each device is linked to your 2FA settings. For those wondering, can i download gmail on huawei, don’t worry anymore. You can easily download and install it from Huawei AppGallery. Before logging in, make sure two-factor authentication is enabled to secure your account.
Conclusion
Enabling two-factor authentication is a simple yet powerful step to safeguard your Gmail account. With options like Google Prompt, authentication apps, and backup codes, you can customize your 2FA setup to fit your preferences. Whether you’re accessing Gmail on your desktop, smartphone, or using Gmail on Huawei devices, enabling 2FA ensures your account stays secure across all devices.
Related posts:
 Unveiling the Lucrative World of X-Ray Tech Salary A Comprehensive Guide
 Navigating the Tech Job Landscape Finding Lucrative Opportunities Near You
 Mastering the Surgical Tech Craft A Comprehensive Guide to the 6-Week Surgical Tech Program
 Unveiling the Enigma Big Booty Tech Nerd – Beyond the Stereotypes